
How to Get the GitHub Student Developer Pack for Free
DEALS & FREE STUFF
1/16/20267 min read


The GitHub Student Developer Pack provides students with access to developer tools valued at over $200,000.
Including GitHub Copilot Pro, JetBrains IDEs, cloud credits, domain names, and learning platforms. If you’re learning to code, studying computer science, or have taken any programming course, this pack fits naturally into what you’re already doing.
Even if you’re not a technical student, this is a huge value for you because you can use tools like Notion, templates, cloud storage, domains, and courses, which can be useful for organizing work, managing projects, or learning new skills alongside your studies.
This post walks through everything you need to know about the GitHub Student Developer Pack, from eligibility to how it actually works, so you don’t have to look at any other guides on this topic.
What Is the GitHub Student Developer Pack?
Ok, I understand you are not interested in this, so I will keep it short and simple and try to explain it fast.
So, the GitHub Student Developer Pack is basically a program where GitHub teams up with over 100 tech companies to give students free access to tools they would normally have to pay for.
Once you are approved, you get things like GitHub Pro, cloud credits, professional IDEs, design tools, learning platforms, and many more, all in one place.
These are not cut down or trial versions. They’re the same tools developers use in real jobs. The idea is simple that students should be able to learn, build projects, and create portfolios using real-world technology, without cost getting in the way.
Who Is Eligible for the Student Developer Pack?
This is a really confusing question even for me when I checked Github official documentation, and it states that, You’re eligible for the GitHub Student Developer Pack if:
You’re currently enrolled in a degree or diploma program.
This includes high school, college, university, and homeschooling.
You are at least 13 years old.
You have a personal GitHub account.
You can provide a verifiable school-issued email or documents proving your student status.
High school students, including K-12 and homeschooled students can apply as long as they can show valid proof of enrollment.
For verification, GitHub may ask for one of the following:
School-issued email address
Current student ID
Class schedule
Enrollment letter
Transcript
The document must show your name and confirm that you’re actively enrolled
How to Get the GitHub Student Developer Pack (Step-by-Step)
PIC 1
PIC 2
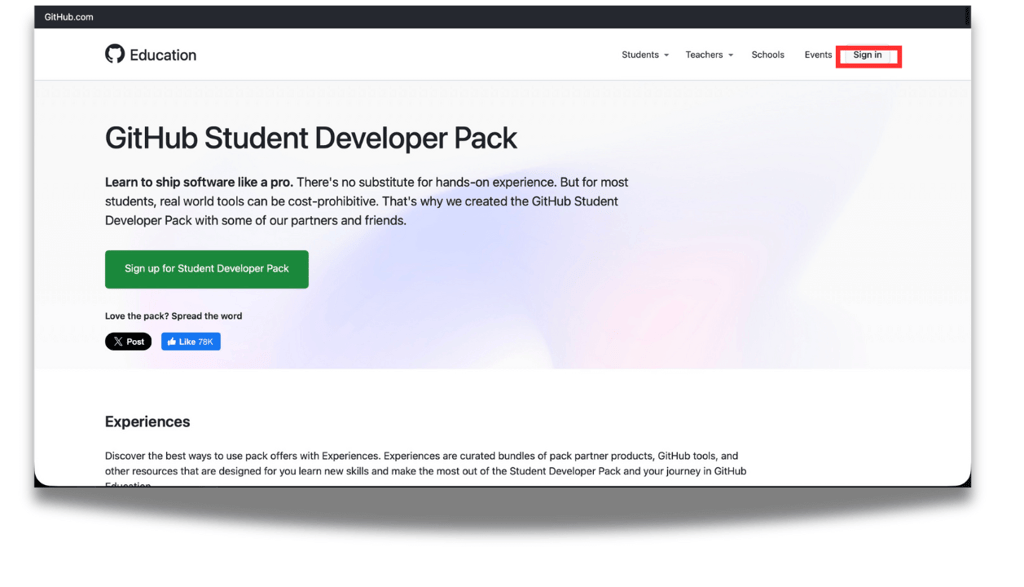
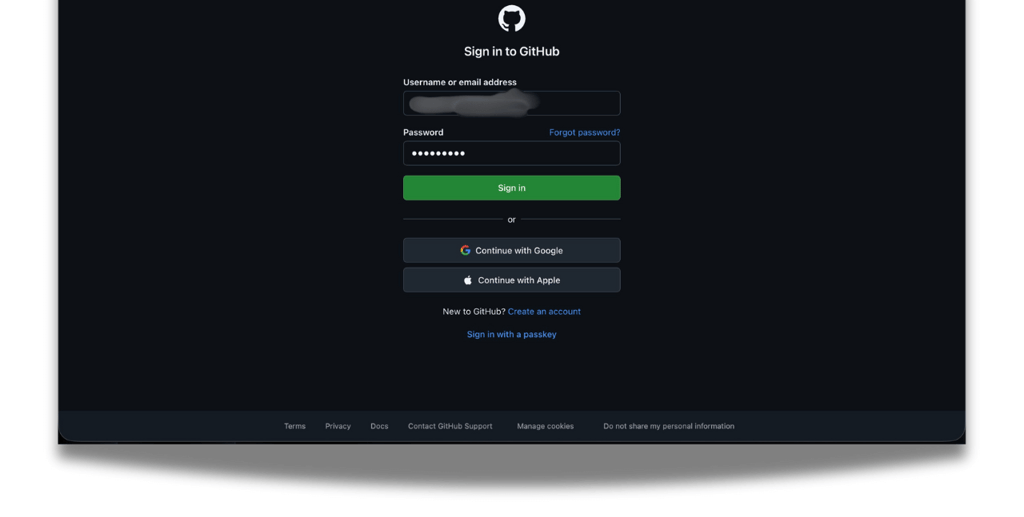
Step 3: Now click on sign in if you already have a github account or sign up and create new account for github as you can see in PIC 3.
I recommend you to create new account with your personal email even if you have college email address because after you will graduate the college/university or you institution deletes your account and you will lost all your data.
PIC 3
PIC 4
PIC 5

PIC 6

PIC 7
Step 8: Now, finally, click on public profile and put the same name as your student ID, as you can see in PIC 8. Remember to verify names on your student ID, public profile and billing profile must match.
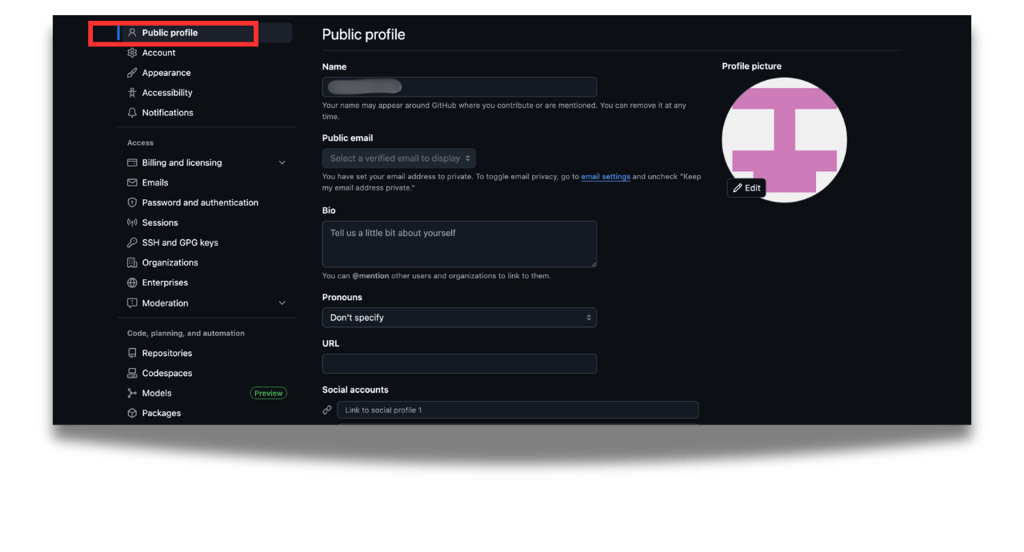
PIC 8
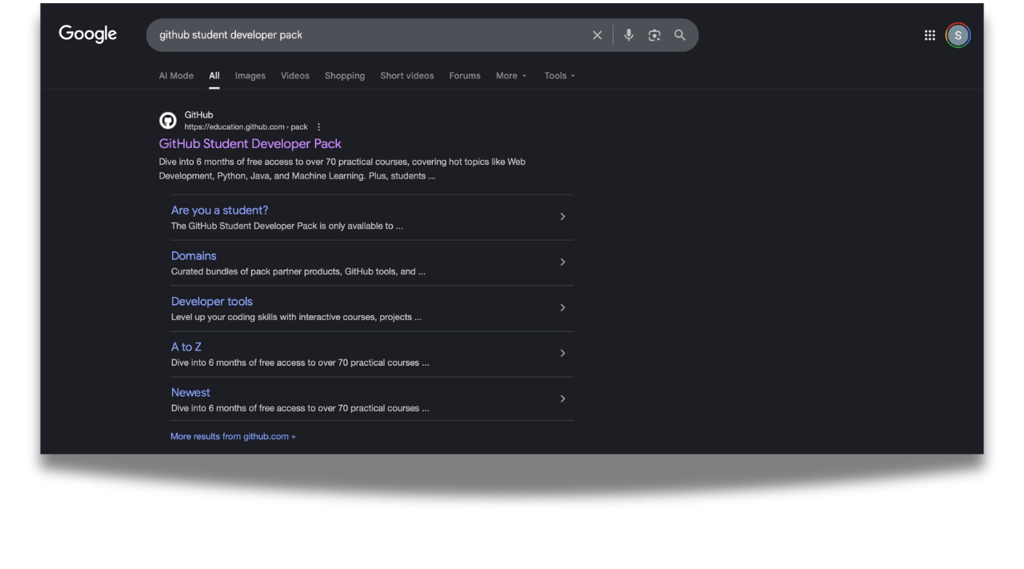
Step 1: First of all go to google and type "GitHub student developer pack" or something related to this query.
Step 2: Click on the first official link that come up as you can see in PIC 1 and you will then see the screen where it will ask you to do next step as in PIC 2.
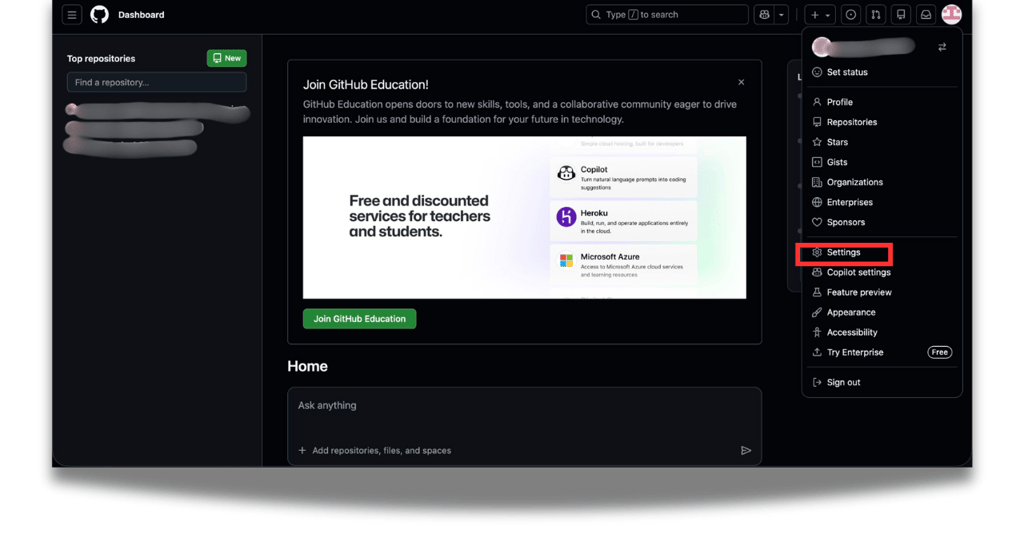
Step 4: In github dashboard click on top right corner and go to settings as you can see in PIC 4.
Now we are doing these steps before verification because these are required factors, without these, your verification will fail. It has happened to me several times.
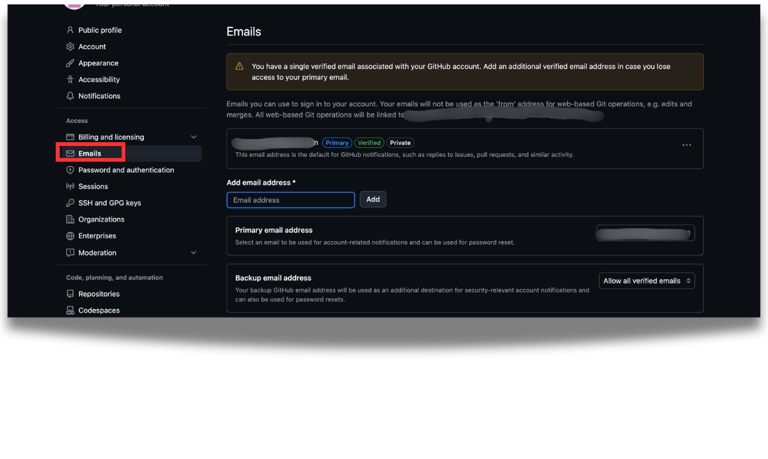
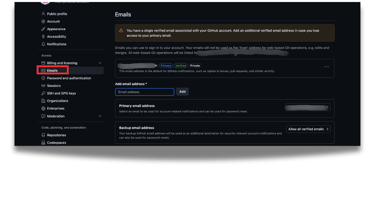
Step 5: Now click on emails from the left panel, as you can see in the PIC 5.
Here, add and verify your student email address provided to you by your school/institution, if your school didn’t give you emial address, you can still get this pack don't worry. after adding it will look like as you can see in PIC 5.
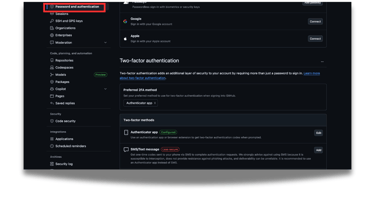
Step 6: After adding the email address, now click on password and authentication, and enable 2 Factor authentication. It's important to do so as in PIC 6.
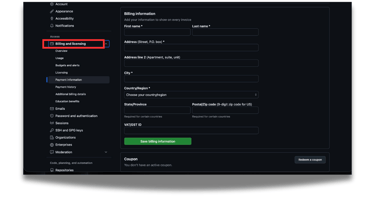
Step 7: Now, click on building and licensing, and add your address, and make sure the name matches the name on your student id. PIC 7
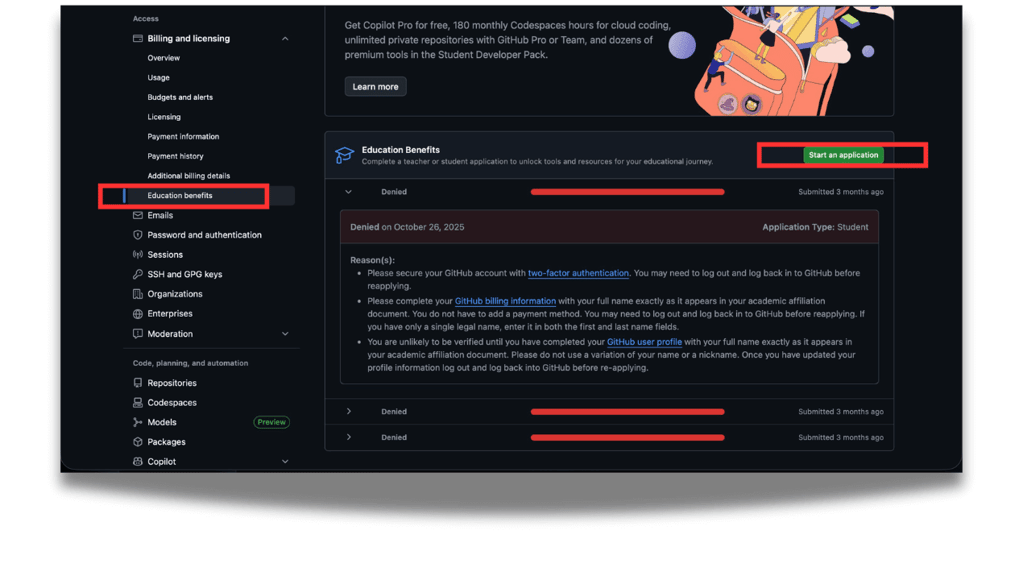
PIC 9
Step 9: Now click on Education benefits from left panel and you can see the following page as in PIC 9. Now click on green start an application button.
PIC 10
PIC 12
PIC 11
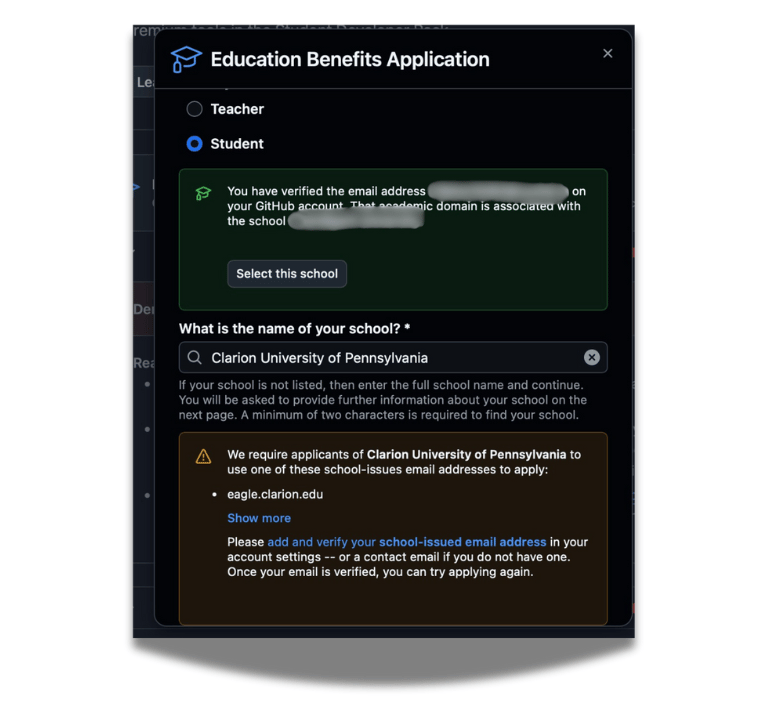
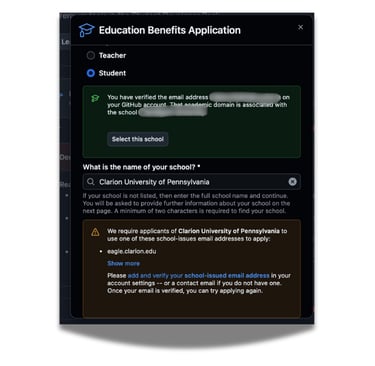
Step 10: Ok, now this step is really important, so please read it carefully. After clicking on "start an application", you will see the following page in PIC 10. Now, add your status in this case, I assume its student.
If you have already added your student email address in step 5, it will ask you to "select this school," as you can see in PIC 10, and it will automatically select your institution name.
If you have not added it, I would recommend you see step 5 again and add/verify your student email address first.
Add your institution's name, and then it will tell you what type of email it may expect.
If your school doesn't have an email address, don't worry, some schools don't have it, so you can just put your institution's name here, and it won't ask you for your student email address. Just put your personal email address.
If it asks you for your student email address after you put your institution, contact your college/school service hub and ask them for guidance on your student email address.
After completing this task, click on share location and allow it for location settings, and after that, click continue.
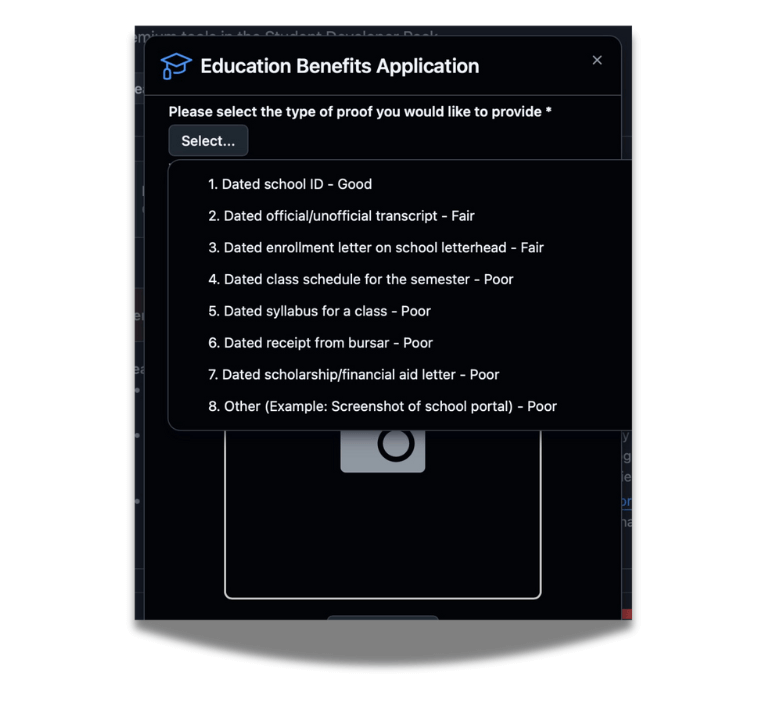
Now select what type of proof you would like to provide, as you can see in PIC 11, I would recommend using your school ID, as it is the easiest.
After submitting your proof, click submit. Now your application is submitted.
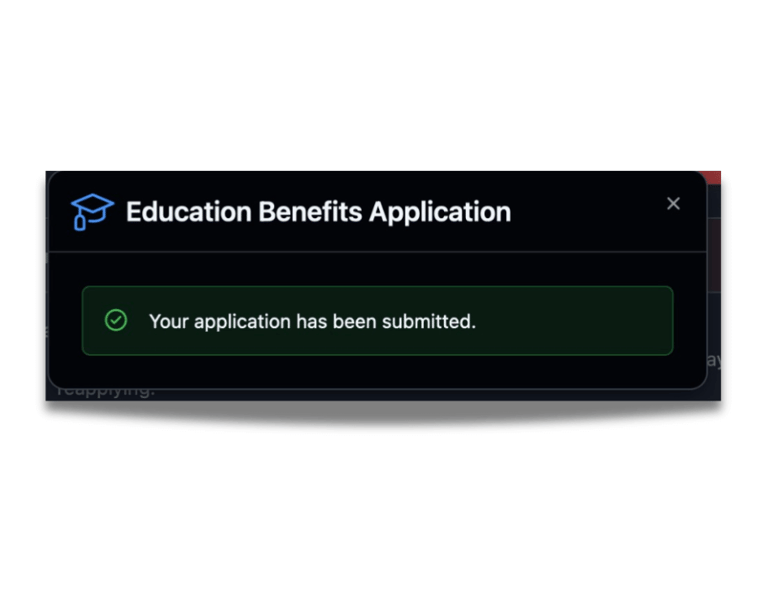
PIC 13
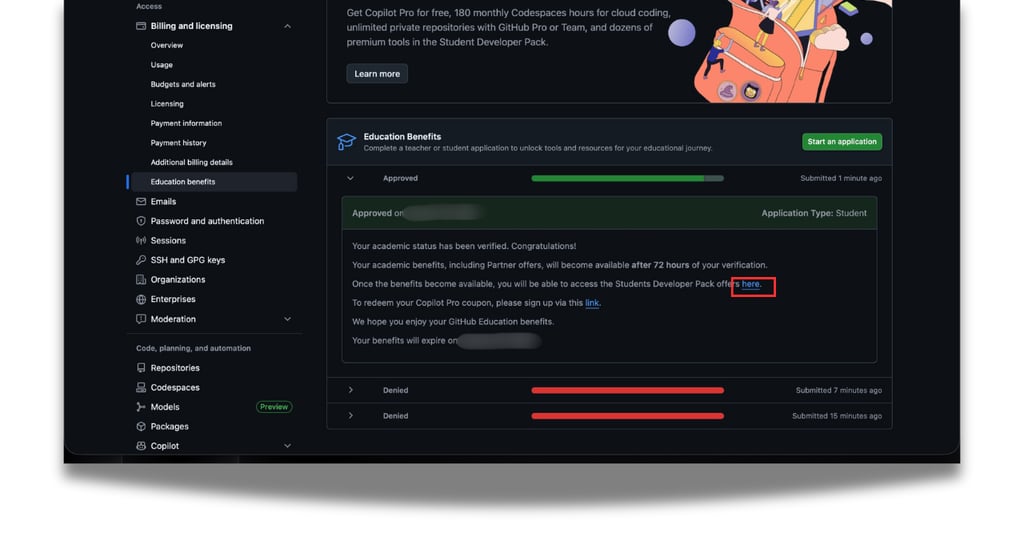
Step 11: Now, finally, you just have to wait for a few minutes, in my personal experience, max 5 minutes, and you will get the results, and if you get approved, you will see the following message, as you can see in PIC 13.
What to Do If Your Application Is Rejected
If your GitHub Student Developer Pack application is rejected, don’t worry, it’s common, it usually comes down to verification issues, not eligibility. It has happened to me several times before getting accepted because of different reasons that I fixed later.
Common Reasons for Rejection
Most rejections happen because GitHub can’t clearly verify your student status. This usually means:
Uploaded documents or image captured is blurry, cropped, or expired.
Your name or school name isn’t clearly visible.
The document doesn’t show current enrollment.
The email domain isn’t recognized as an academic institution
Bootcamp or homeschool documentation isn’t official enough.
You have not enabled 2 factor authentication on your account.
Your profile name does not match the name on your student ID.
your billing information is not filled correctly or name does not match the name on your student ID.
Most common reason often ignored is location your location does not match as your institution, means when you apply try to apply on your campus so that it can verify the location of your institute.
How to Upload Better Documents
When reapplying, upload clear, official proof:
Use a well-lit photo or clean PDF.
Make sure your full name, school name, and current date/term are visible.
Avoid screenshots of portals unless they clearly show enrollment details.
Reapply after fixing these issues i am 100% sure your application will get approved.
Conclusion
The GitHub Student Developer Pack makes it easier to learn without worrying about paid tools. Instead of hitting limits or free trials, you can focus on practicing, building projects, and improving your skills.
The application process can feel confusing, and rejections happen, but most problems are small and easy to fix once you know what GitHub is checking. If you’re a student and eligible, it’s worth applying and setting it up properly. GitHub offers something genuinely useful you just need to take advantage of it while you can.
If you like this Post do share it with your friends and peers who might benefit from it and check out our other blog posts.
FAQs
Q1) Is the GitHub Student Developer Pack free forever?
A) No. The pack is free while you’re a student. GitHub Student Developer Pack benefits are valid for two years from the date of approval and do not renew automatically. Once expired, you must reapply to continue access.
Q2) Can I apply without a student email?
A) You actually do require student email ID in most cases, if Github asks for your student ID but your school don't provide student emails try contacting Github support for assistance.
Q3) What happens after I graduate?
A) After you graduate, you can’t reapply for the GitHub Student Developer Pack. The benefits are valid for up to two years from approval and do not renew automatically. Once they expire, you keep your GitHub account, but student benefits end and paid tools return to normal pricing.
Connect
Stay in touch
© 2025 Intellectual Ignorance